Showing posts with label Squash. Show all posts

Tuesday, September 19, 2017

Neighborhood Farm Stand

So, I happened to be walking in my parents neighborhood Sebastopol, California and came upon this delightful little vegetable stand.


A home-made farm stand in one's neighborhood is probably the next best thing to having veggies grown in your own backyard.

Tuesday, August 8, 2017

Weekly Harvest

Here is an average crop from picking each week this summer. After being gone for a couple of days, I came home to this harvest.


Greyzini Zucchini

Here is a zucchini variety that I purchased only to find out later that it is a hybrid variety. With there being so many good open-pollinated zucchini cultivars, why any gardener requires a hybrid that produces more is a mystery to me. This is your basic "gray/grey" type zucchini. Nothing special, but the plants look nice and remained healthy most of the season. Flavor is that of a regular zucchini. That being said, freshly cut zucchini is delicious when part of a raw vegetable platter.


At about this point, I decided that I wanted to eat more than just zucchini this summer. There is a little joke around gardeners that you should never leave your car window down or your house unlocked during a good growing season, or you'll find someone "gifted you" with some large zucchini. As a result of the prolific production of these plants, I eventually cut back to just one plant - which is plenty for a family of six.


The Greyzini Zucchini

Monday, August 11, 2014

Getting Cucurbits off to a Good Start

Some Pre-sprouted Cucurbit Seed.
Because a seedling requires photosynthesis to grow into a thriving plant, the longer a seedling grows without sunlight the more it uses up its energy reserves in an attempt to expose its leaves to sunlight. The seedling that can pull its leaves from the seed coat quickly will begin to process sunlight earlier so it can grow strong and large before weeds, predators, and temperatures become unfavorable. Effective gardeners provide an optimal environment for each plant to grow so that the plant, in turn, will produce leaves, flowers and fruit much earlier than it would do in nature.


A cucurbit seed with roots (left) and primary leaves (right)


Cucurbitaceae  or Cucurbit seed, including squash, cucumbers, melons and their relatives tend to emerge from the seed coat in a uniform fashion with the root emerging before the primary leaves. As the primary leaves develop, they fill out until they can finally break free of the seed coat. Depending on the seed quality and the environment provided, cucurbit seedlings can require less than 1 day or over 2 weeks to emerge. Although seed quality is not a factor that most gardeners have total control of, each gardener possesses a large portion of control over a seedling’s initial environment.


In a previous post I outlined some tips for exposing cucurbit seeds to an environment in which they will sprout. Once a seedling is almost finished sprouting and its primary leaves begin to push off their seed coat, a gardener can ensure that the seedling sprouts earlier by how they position the seedling in the soil. Although various gardeners may find different methods for getting their cucurbits off to a good start I wish to show one method that I’ll call “seedling positioning” that I believe enables seedlings to quickly expose their primary leaves to sunlight.

 
1. First, you presprout the cucurbits. If you are unfamiliar with presprouting cucurbit seeds there is a little guide to the process at the bottom of the page at Cucumbershop.com.


2. Then you make sure the soil you wish to plant in has been watered deeply, then left to dry until the soil is workable (not soaking).


Illustration of initial soil, with broken line representing ground level.
 

3. Then, you dig one small trench.


 4. Then another next to it.


5. Compact the dirt in between each trench to make a bump or island between the two holes that can support the middle of the cucurbit seed.


6. Then place the cucurbit seed with the root in the soil at one side and the primary leaves and seed coat on the other side.
 

Drawing of seed placement or positioning


Photograph of Seed Placement (or positioning)


7. Fill in the root portion of the soil to the soil line above the bump, leaving the middle of the seedling exposed.


8. Fill in the area above the primary leaves and seed coat with soil to the soil line, compacting the soil or leaving a small rock above the seed coat. By weighing down the seed coat the primary leaves will be able to pull out of the seed coat without taking the seed coat with it.
 
 
Burying all but the midsection of the seedling.


Note: 7 and 8 Can be interchanged. I actually prefer to fill in the seed coat first to hold the seedling in place.


Putting Dirt on the Seed Coat First


9. Leave the middle of the seed exposed or gently brush around where you last saw it until it is exposed.
 
 
Adding dirt over the roots (Palo Verde branch marking exposed portion of seedling).

 
10. Keep from directly watering on the seedling (you can water near the seedling) until the seedling has sprouted.


With the seedling correctly placed in the soil it can sprout quickly.


This time red arrows denote where the seeds are beginning to spout.


In 1 day the sprouted seedlings have emerged because of their placement in the soil.


Although I have not attempted a side-by-side trail of using vs. not using my seedling positioning technique I have noticed that positioning the seedlings so that they receive sun quickly enables them to grow quickly. I hope that other gardeners are able to find that positioning their seedlings helps them as much as it has helped me.


Happy Gardening!

Thursday, November 7, 2013

Admiring the Mighty Luffa

During the time in which I am waiting for my winter garden to grow and my summer garden to freeze I occasionally visit other gardener's plots to observe what they are growing. Recently, while walking around the Tucson Organic Garden (TOG) plot located near central Tucson I noticed that most of the summer plants were gone and small winter beds were still in their infancy. Amidst the younger plants was a plot that seemed to still be growing a summer crop. In this plot there was one plant which displayed interesting leaves, which from the distance resembled grape vines, that immediately caught my attention. This mighty plant was none other than the luffa gourd.


The Mighty Luffa Gourd


The majority of the plants that grow like weeds here in Tucson either produce thorns or are generally unpalatable. This is definitely one good reason to initially be hesitant of this plant’s taste and texture. Besides, this plant is used for making natural sponges just as often as it is used for making food.


The Luffa Gourd plant looks a little like Grapevines
 
 
It seems that the bees really enjoy the luffa flowers

Though I have heard that the luffa fruit is very light and spongy in texture and is similar to squash in taste, I am currently of the mindset to not attempt sauté up a luffa for dinner. Knowing that my children are reluctant to try eggplant, perhaps the best approach is to ask someone with experience in growing and cooking this vegetable up to invite me over for a sample before I commit to growing this vegetable.
 
An immature Luffa
 

Though my instincts tell me that this plant may require lot of preparation in cooking for a decent taste to be achieved, I am awed by the beautiful appearance of the leaves and fruit that this vegetable produces.
 
The Luffa Gourd flowers are very pretty

Tuesday, September 3, 2013

Mexican Bean Beetle Invasion

As Arizona’s monsoon weather patterns draw to a close between the end of August and the beginning of September, Tucson’s insect population reaches its peak. Every insect pest from every other gardener’s plot has had all summer to reproduce and delights in finding a new habitat to call home. Unfortunately, many local gardeners either don't know what to look for or do not tend to their garden often enough to notice the insects destroying their gardens - because there are always plenty of insect pests to deal with in the Tucson city limits. 
 

The Mexican Bean Beetle

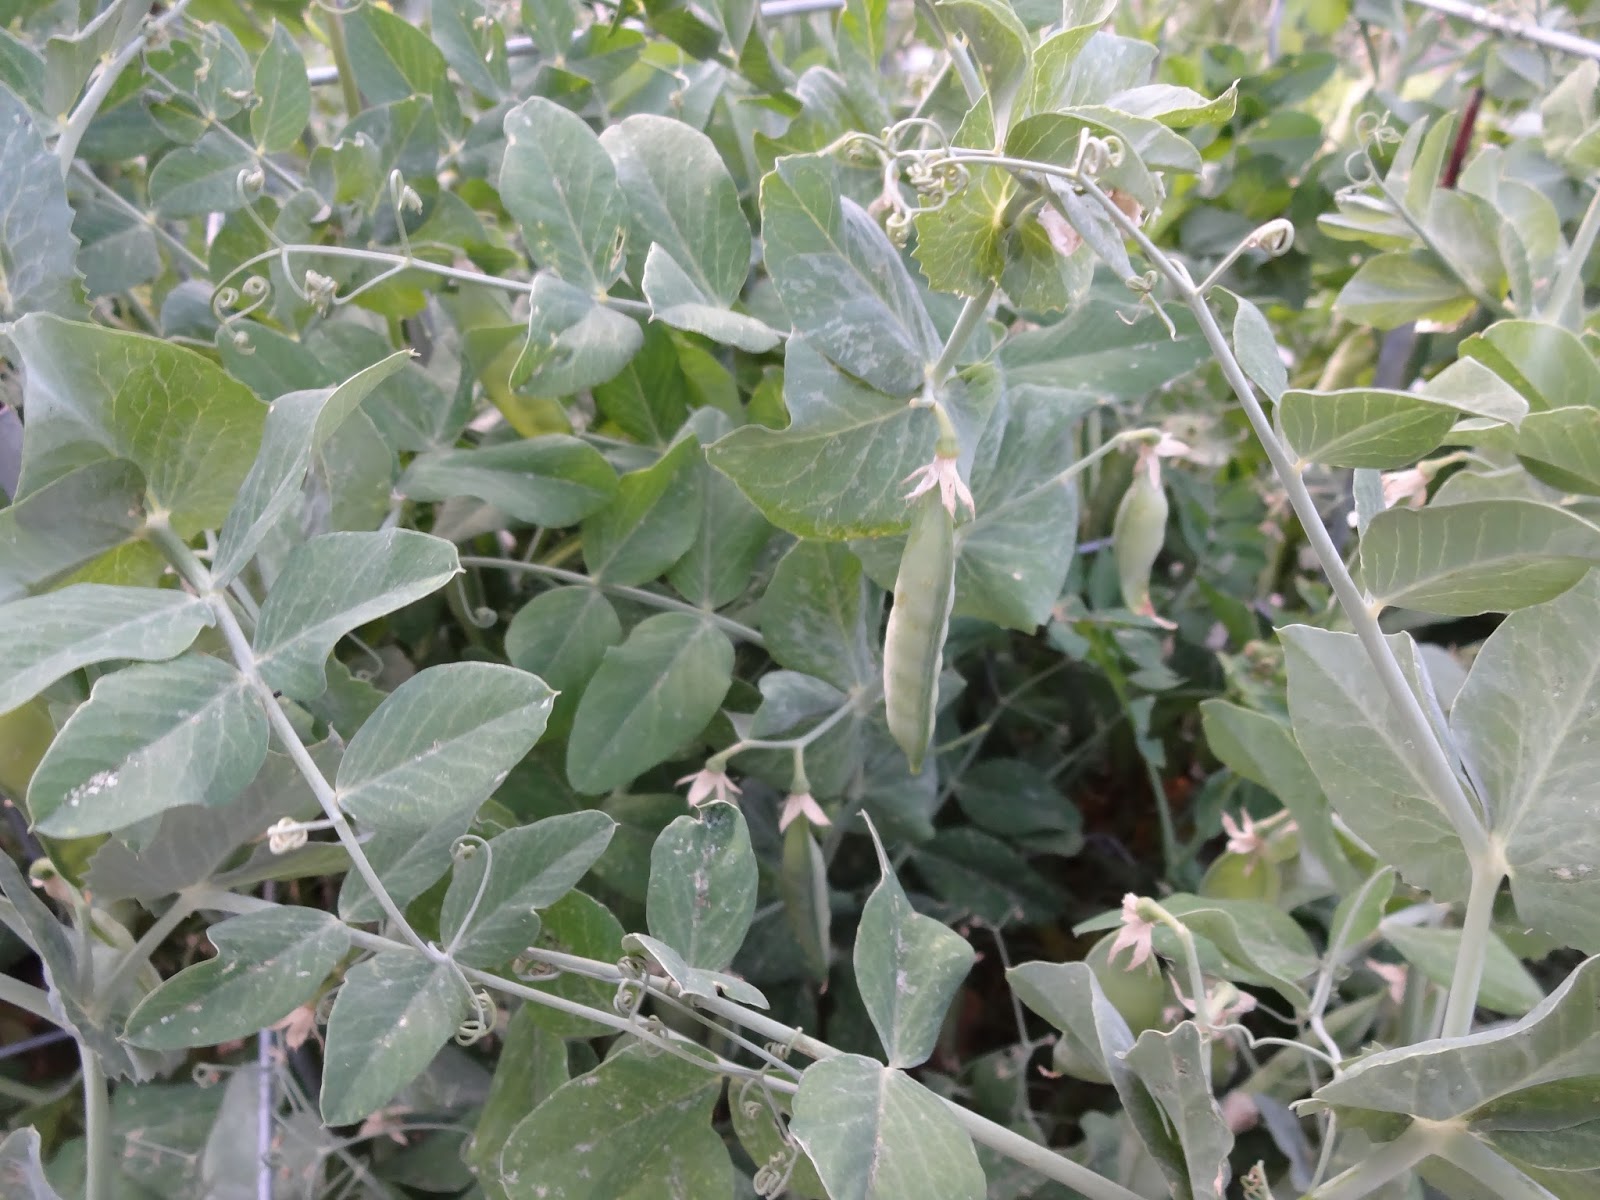
Along with a variety of cucumber beetles (which come in all colors and patterns) this summer the monsoon winds have brought another unwelcome guest to my garden: the Mexican Bean Beetle. My experience with this pest has led me to believe that this beetle prefers sweet potato vines over beans, melons, or squash – but that it will go after any or all of these plants if given a chance.


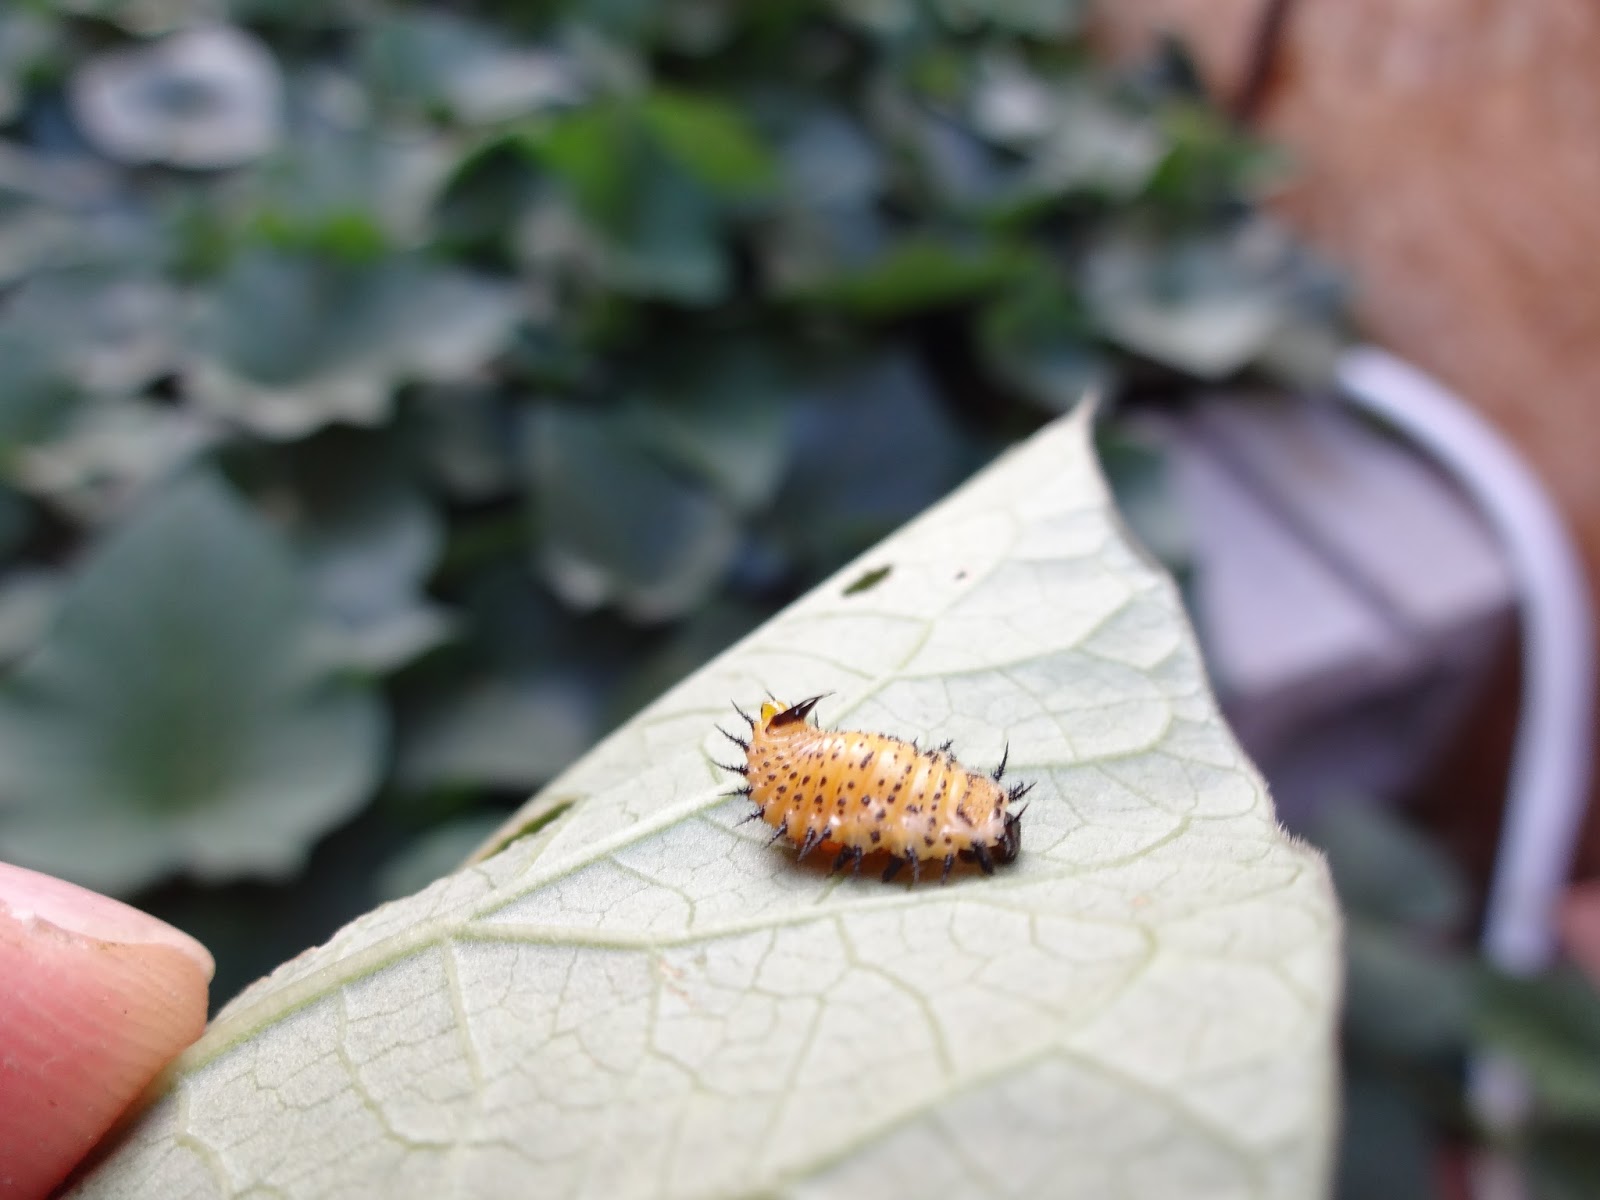
Mexican Bean Beetle Nymph

 Although my sweet potato vines have more to fear from my beloved children tromping through them than from a little beetle, I have no intention of making this insect a reoccurring visitor to my garden.


Mexican Bean Beetle Larva

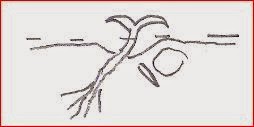
The beetles look similar to ladybird beetles, but are much larger, with an orange coloration. Their clumsy and slow habit leads me to believe that, like horse lubber grasshoppers, that they may be poisonous. I kill or remove as many as I can, as I find them, though they do tend to live beneath the leaves – which makes them nearly impossible to find among the sweet potato vines.


Mexican Bean Beetles should be renamed Sweet Potato Beetles!


So – if you happen to see one of these beetles roaming around in your garden please don’t pass it off as a ladybug. Eliminating menacing insects not only helps you, but is an invaluable benefit for all the gardeners who live around you. I can only hope other gardeners in Tucson take note.

Tuesday, August 20, 2013

Candystick Dessert Delicata Winter Squash

As a gardener and a parent I am always in pursuit of vegetable varieties that my children will eat. So, when I saw that Carol Deppe had a Delicata squash that was described in her catalogue “as reminiscent of Mediool dates” I decided to give them a try. “Candystick Dessert Delicata” winter squash is a tan cylindrical squash with tan and green stripes. Though the fruit can grow up to 3 pounds, the majority of the delicates I grew from this plant tended to be smaller. The plants I grew produced a prolific crop of these delicatas in a short amount of time.


This is the second generation of Candystick Delicatas I grew this year

The flesh of the Candystick Delicata is very dry and compact and cooks incredibly quick. Baking this squash halved and upside-down in a little water at 375° Fahrenheit, should take – at most – 15 minutes. While Carol Deppe suggested 2-3 weeks for curing, in the desert southwest the sweetness of the squash is more related to how long it had been on the vine, in the heat, than with how long the squash is stored. On the other hand, if you try growing this variety in a cooler climate, curing would definitely be advised. Sweetness also tended to be related to how light colored the flesh was. More mature squash with lighter colored flesh tended to have more sweetness than squash with darker flesh.

Some of the Candystick Delicata Squash Blossoms right after setting.

So, how sweet was this squash? Sweet enough for my kids not to complain about eating squash (which is saying something) but not sweet enough for them to ask for seconds. Because of how dry the flesh is I would highly recommend buttering it after cooking it or having something to drink while you eat it. This delicata would also be very tasty if sautéed onions were added to the cavity of the squash for a fine tasting dinner. With all of this said, this squash is also very good eaten plain. Both my wife and I are not squash fans, but we have gladly eaten these plain. The savory taste and incredible texture make this delicata worth eating all by itself.


The lighter and harder the interior flesh, the sweeter the taste

In short – if you are looking for a dessert for children I would not look to growing squash unless your kids are really desperate or love squash. That being said, the texture of this squash is very good and I could only imagine that this delicata variety could be used to make some incredible pie.

Wednesday, July 17, 2013

The Unfair Garden

I try not to constantly complain about Tucson’s summer weather – however – during a recent trip to Utah - my sister’s beautiful garden made me a little jealous. She said that all she had to do was weed and add seed.


My oldest son picking peas in my sister's garden


Gardening can be easy in more moderate climates

The previous tenants in the house worked very hard on the garden and she is definitely reaping the results. Her lettuce was delicious – even in the heat.


My nephew picking a carrot


My nephew examining his carrot

My children were picking peas most of the time we were visiting her. The weather was warm – but no where close to Tucson.


Peas grow wonderful in July - in Utah