Friday, April 23, 2021

Red Lettuce and Learning about Winter Bolting

So – this is a pretty difficult subject for me to address mainly because the local squirrels ravaged my little lettuce seedlings the same way they did with my Tondo Massafra. Even with barriers, the squirrels worked their way around to eat or dig up most all of the plants I grew.


I eventually resorted to grow the lettuce up on the balcony in pots, with aluminum foil around each plant to deter the squirrels from digging in them.


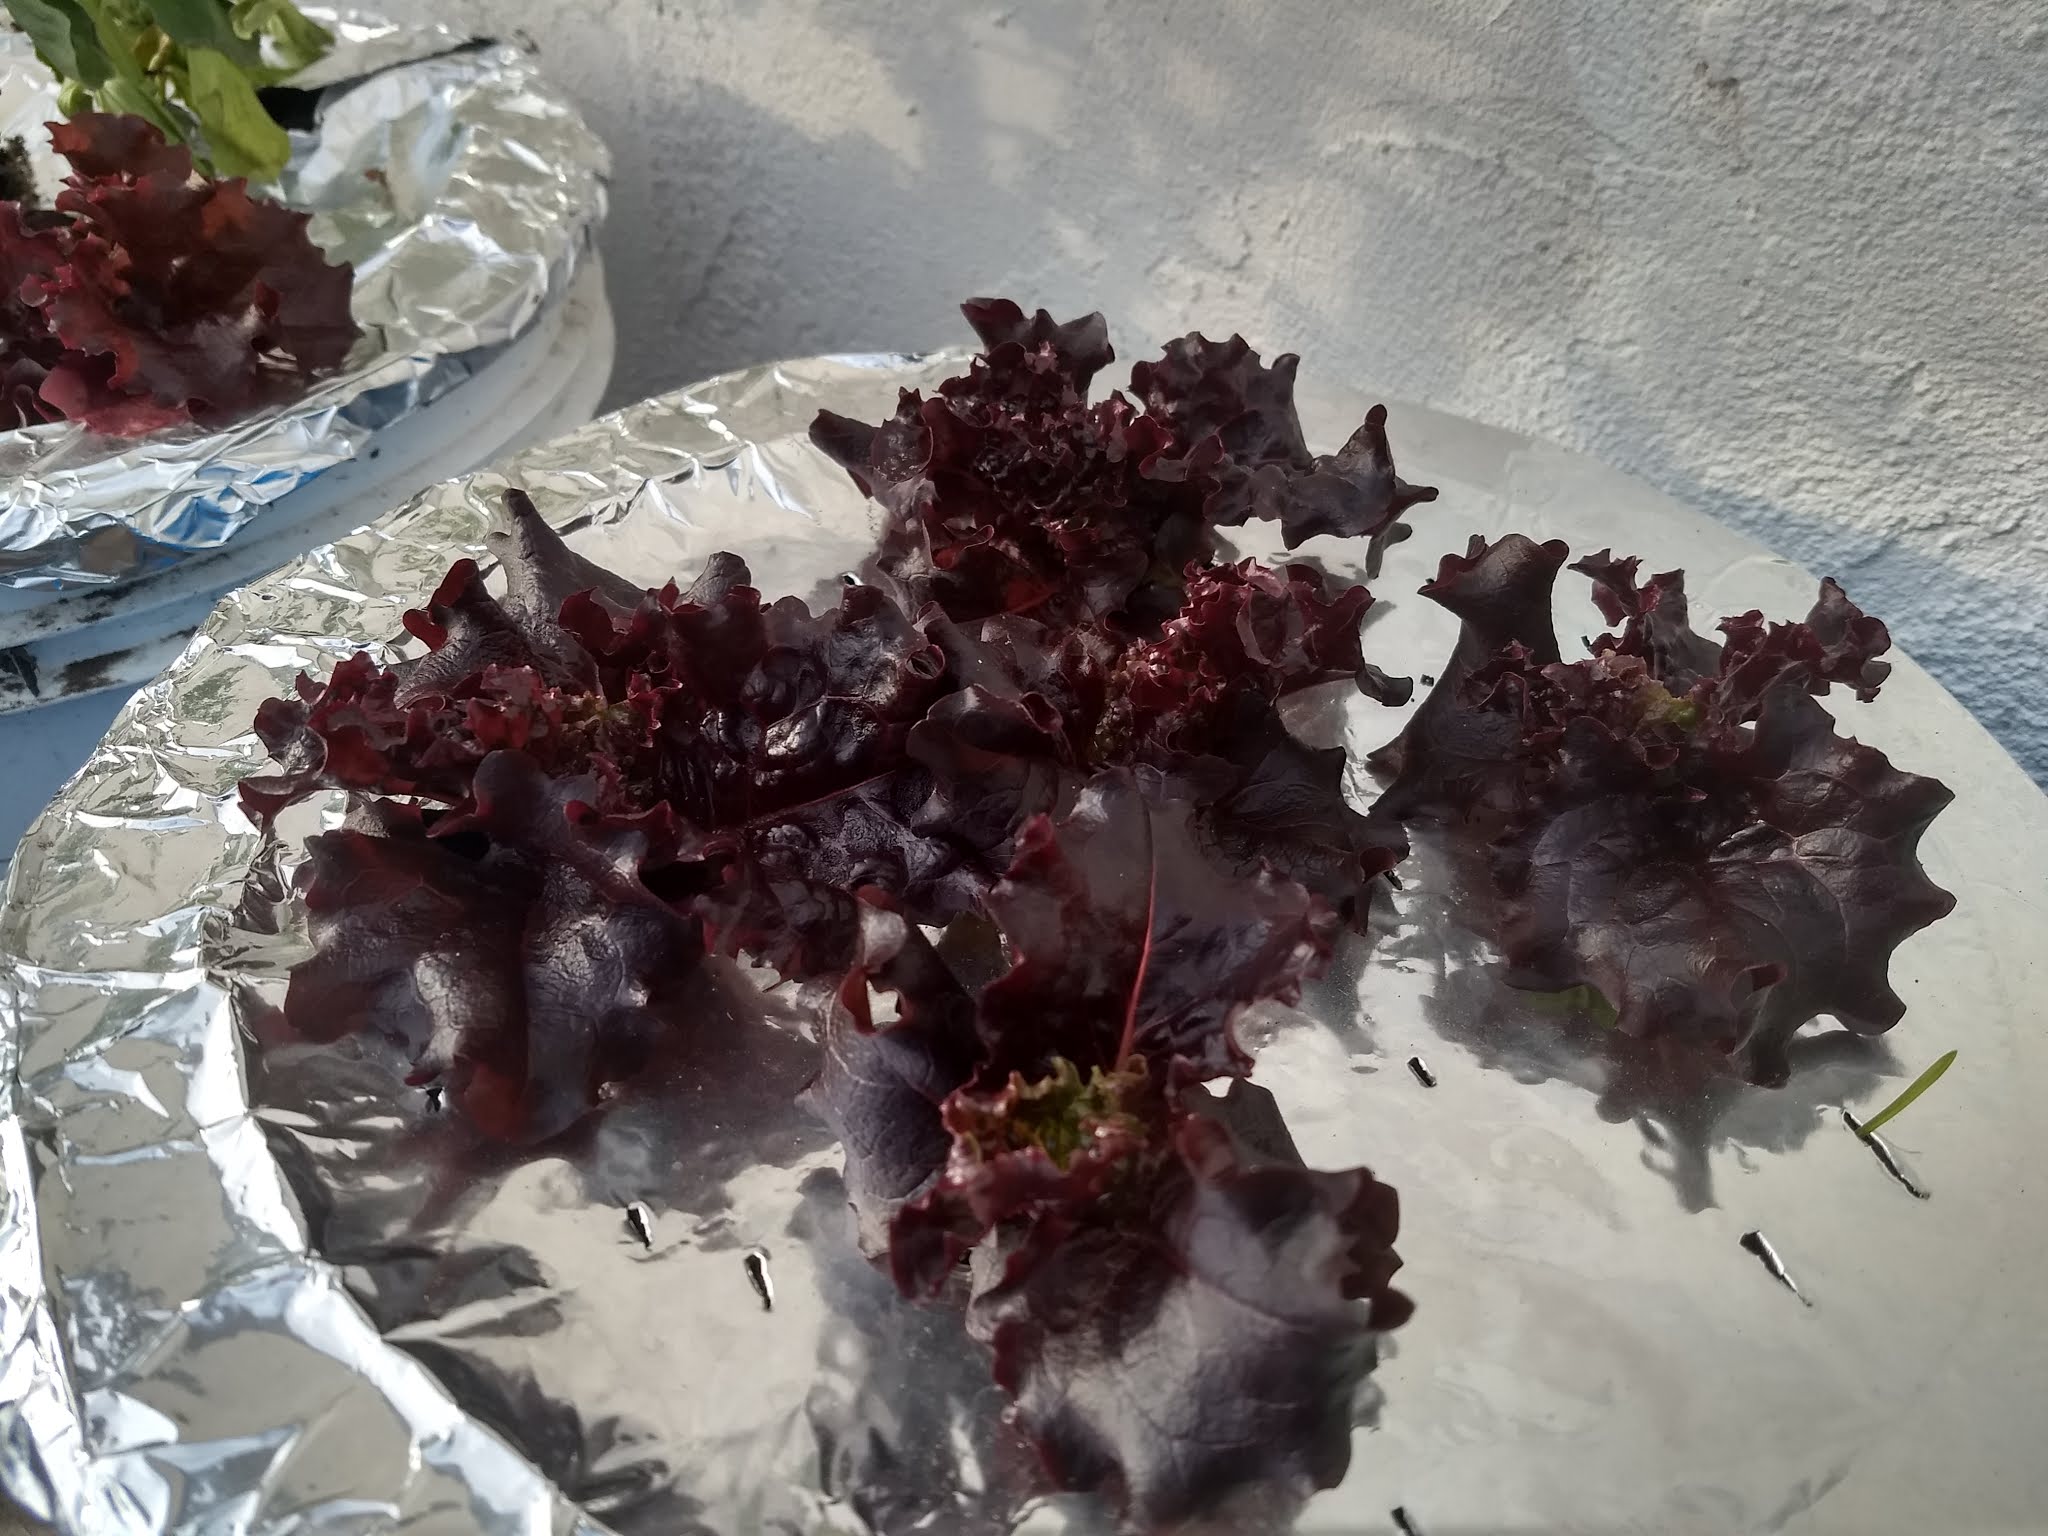
Though this mostly did the trick of keeping the squirrels from digging up the plants, they did occasionally still dig in it and the aluminum foil was a mess. Additionally, the aluminum foil also did little to keep the plants moist.


The soil under the foil would become dry from the frequent winds we experienced. These winds were so constant, that they wicked a large portion of the moisture from the plants – which stressed the plants enough to cause them to become bitter.


So – putting foil over the soil of potted plants to keep squirrels away is a messy, inconvenient process that is only worthwhile if your plants don’t turn bitter. Perhaps sometime in the future I will grow out lettuce transplants in the greenhouse for putting out into the garden. But only if I can somehow protect them from the squirrels.


Friday, April 16, 2021

2020 Backyard Sweet Potatoes

Given that sweet potatoes don’t last long and that they generally don’t build up a lot of disease problems from one year to another, I planted my sweet potatoes in the exact same place as last year. Not in my main garden, but off to the side – next to where I plant my tomatoes.


Like the previous year, I started my sweet potatoes by growing them out in the greenhouse, then planting the slips out in the garden. I shared as many of the slips as I could with others – so as to not waste any. 


By late November, it was time to harvest the sweet potatoes. I usually come through with scissors to cut off all of the vines first and to reduce the possibility of getting a lot of the milky sap on my clothing. After cutting them back on the top, then I dig around the bottom to expose the actual sweet potatoes. This is best done by using some kind of fork to loosen the soil, then going back to gently feel out each sweet potato by hand.


Sweet Potato is in the Morning Glory Family


Friday, April 9, 2021

Plant Collars

For those living in places with critters that will either plow down plants by biting the stem or eating all the leaves, or will choose to dig a plant up just because – plant collars can be really helpful. A plant collar is basically a small circular wall around a plant that acts as a barrier between the plant and the rest of the garden – so that critters outside of the barrier will not get in to eat your plant.


A plastic collar around one of my cucumbers


In order for them to be effective, they are usually pushed at least half an inch into the soil. Pushing the collar slightly into the soil keeps it firmly in place and ensures that it will not be pulled elsewhere by the wind or passing animals.


Note – when putting collars around a plant, make sure to examine the soil around the plant, looking for critters that may possibly cause damage. Keeping problem slugs or insects stuck in with the plant will likely result in more plant loss.


Once the seedling or transplant has become large enough to establish itself, the collar can be gently pulled off of the plant. This is done gently, making sure not to pull at the plant roots. After the plants grow large enough to not need the collars, I take them off. At the end of the season, when I no longer have any need to use the collars, I generally wash them off and store them for the next growing season.


The plastic collars I use for my seedlings.

Friday, April 2, 2021

Backyard Compost

Prior to 2020, I had gathered over 50 bags of leaves. In my opinion, leaves are one of the best materials to use for gardening. They are usually free of a lot of the pesticides and herbicides that occur in a lawn or in field crop management. So, with all those leaves, I had a huge pile of plant material from which I could add “green” material to throughout the season to ensure healthy compost. Though I would have loved to have had something to mulch the leaves, I did not – so I just composted the whole leaves with everything else.


Similar to hot composting, when doing a “cool” compost, moisture makes all the difference. It enables bacteria, fungus, worms and other critters to thrive in an otherwise dry unhospitable environment. My compost over this time had both the nitrogen-loving composters (red wigglers) along with worms that mainly focused on breaking down the leaves and other carbon-rich material. Pillbugs, centipedes, earwigs along with fungus and bacteria played big roles in breaking down the material.


The process of composting took about a year for the more moist material, while the more dry leaves took well over a year to begin composting. I utilized the dry leaves to ensure that the surrounding area would not be effected by the decomposition of the leaves. Overall I would have to say that the technique worked out fairly well.