
Because of various factors of life in 2018, I was unable to finish blogging about my gardening last year. It is important to go back to last year’s gardening because much of what I did in my greenhouse this last summer was built upon work I did in other gardens in 2018. As I do still have a lot to say about what transpired in all three gardens last year, I will be taking a break from talking about the trial varieties of carosello I grew in my greenhouse in order to review what happened last year, starting with what I refer to as "The Chicken Garden".

To review, last summer’s Chicken Garden was an opportunity I received when one of my children was given the opportunity to babysit chickens while a friend of mine was out with his family on their summer vacation. The plot is on a quarter acre that is mostly bordered by deciduous trees on the southeast and very tall juniper trees on the southwest. And, of course, there are chickens.
My friend said that I could utilize the whole garden, but – after examining the poor soil and weeds – I wisely accepted use of just one-third of the little plot. The soil (if you can call it that) was mostly clay and rocks. Organic matter was nearly deficient except for some hardy bindweed and occasional tufts of Bermuda grass. Breaking through the soil required a lot of heavy labor and, at one point, I accidently broke one of my friend’s old shovels (I apologized and brought my own shovel after that).
I began by growing some regular cucumber varieties that I wanted to learn some more about. After spreading a lot of compost and some soil amendments, I planted Marketmore 76, Salt and Pepper and Northern Pickling cucumbers.

As for the carosellos, I wanted to find out some more about all of the Spuredda Leccese varieties that I owned. Spuredda is another name for Carosello, so that is not a very good descriptor. Sometimes seed packets will say “Carosello Spuredda Leccese Verde”. This is not completely accurate either, because even though the cucumber may be green – as most cucumbers are – the variety that they are referring to is better referred to as “dark green” That is why the term “scuro” seems to be the best fitting for this variety. In any case – the coloring, shape, texture and the variety of seed that is in any “Carosello Spuredda Leccese” packet can vary so widely from one variety to another, that I decided to grow three different varieties – one from my friend Angelo, and two from Italian seed companies.


Work on the garden began in late June and ended near the end of September. Given that the soil was so rocky, I was not expecting too much, but most everything grew as well as could be expected. One of the more difficult problems I encountered was that I didn’t make the time to get a timer for the soaker hose, so instead I just kept the soaker hose on all the time at an incredibly small rate. This was a big mistake. Although carosello are able to do quite well in poor soils, they cannot handle sitting water for very long. If left to sit, clay soil can compact incredibly easily under its own weight leaving the roots of the plant starved for air. I almost lost one of my prize varieties last year due to exposure to stagnant water on the clay soil. As with many drought-tolerant plants, the roots of carosello are much more forgiving to underwatering than they are to overwatering.


Though there was a lot of sun in May and June, it quickly declined over the month of August due to shade from the stand of Junipers. The summer went by quickly and, by September the plants had declined substantially. Weeding was something I just never have time to do. I definitely pull weeds that are going to seed, but otherwise I try to time the removal of my weeds with the end of the growing season. At the very end of the season, when I was done harvesting all of the plants and fruit I turned in the thriving weeds to keep them from going to seed while utilizing their remains to enrich the soil.

 |
| Backyard with the chicken garden. The garden is on the very left. |
 |
| Chicken run and chicken coop. |

 |
| Chickens |
To review, last summer’s Chicken Garden was an opportunity I received when one of my children was given the opportunity to babysit chickens while a friend of mine was out with his family on their summer vacation. The plot is on a quarter acre that is mostly bordered by deciduous trees on the southeast and very tall juniper trees on the southwest. And, of course, there are chickens.
 |
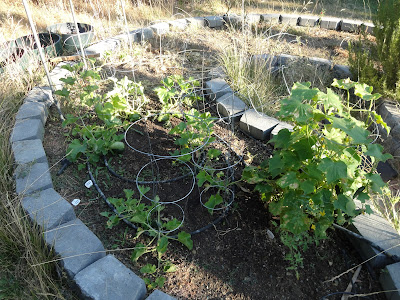
| A view of the garden in late June. |
 |
| Clay dirt and lots of rocks. |
My friend said that I could utilize the whole garden, but – after examining the poor soil and weeds – I wisely accepted use of just one-third of the little plot. The soil (if you can call it that) was mostly clay and rocks. Organic matter was nearly deficient except for some hardy bindweed and occasional tufts of Bermuda grass. Breaking through the soil required a lot of heavy labor and, at one point, I accidently broke one of my friend’s old shovels (I apologized and brought my own shovel after that).
 |
| June 26th, 2018 |
 |
| Critter damage. |
 |
| Using plastic containers to protect seedlings from critters. |
I began by growing some regular cucumber varieties that I wanted to learn some more about. After spreading a lot of compost and some soil amendments, I planted Marketmore 76, Salt and Pepper and Northern Pickling cucumbers.
 |
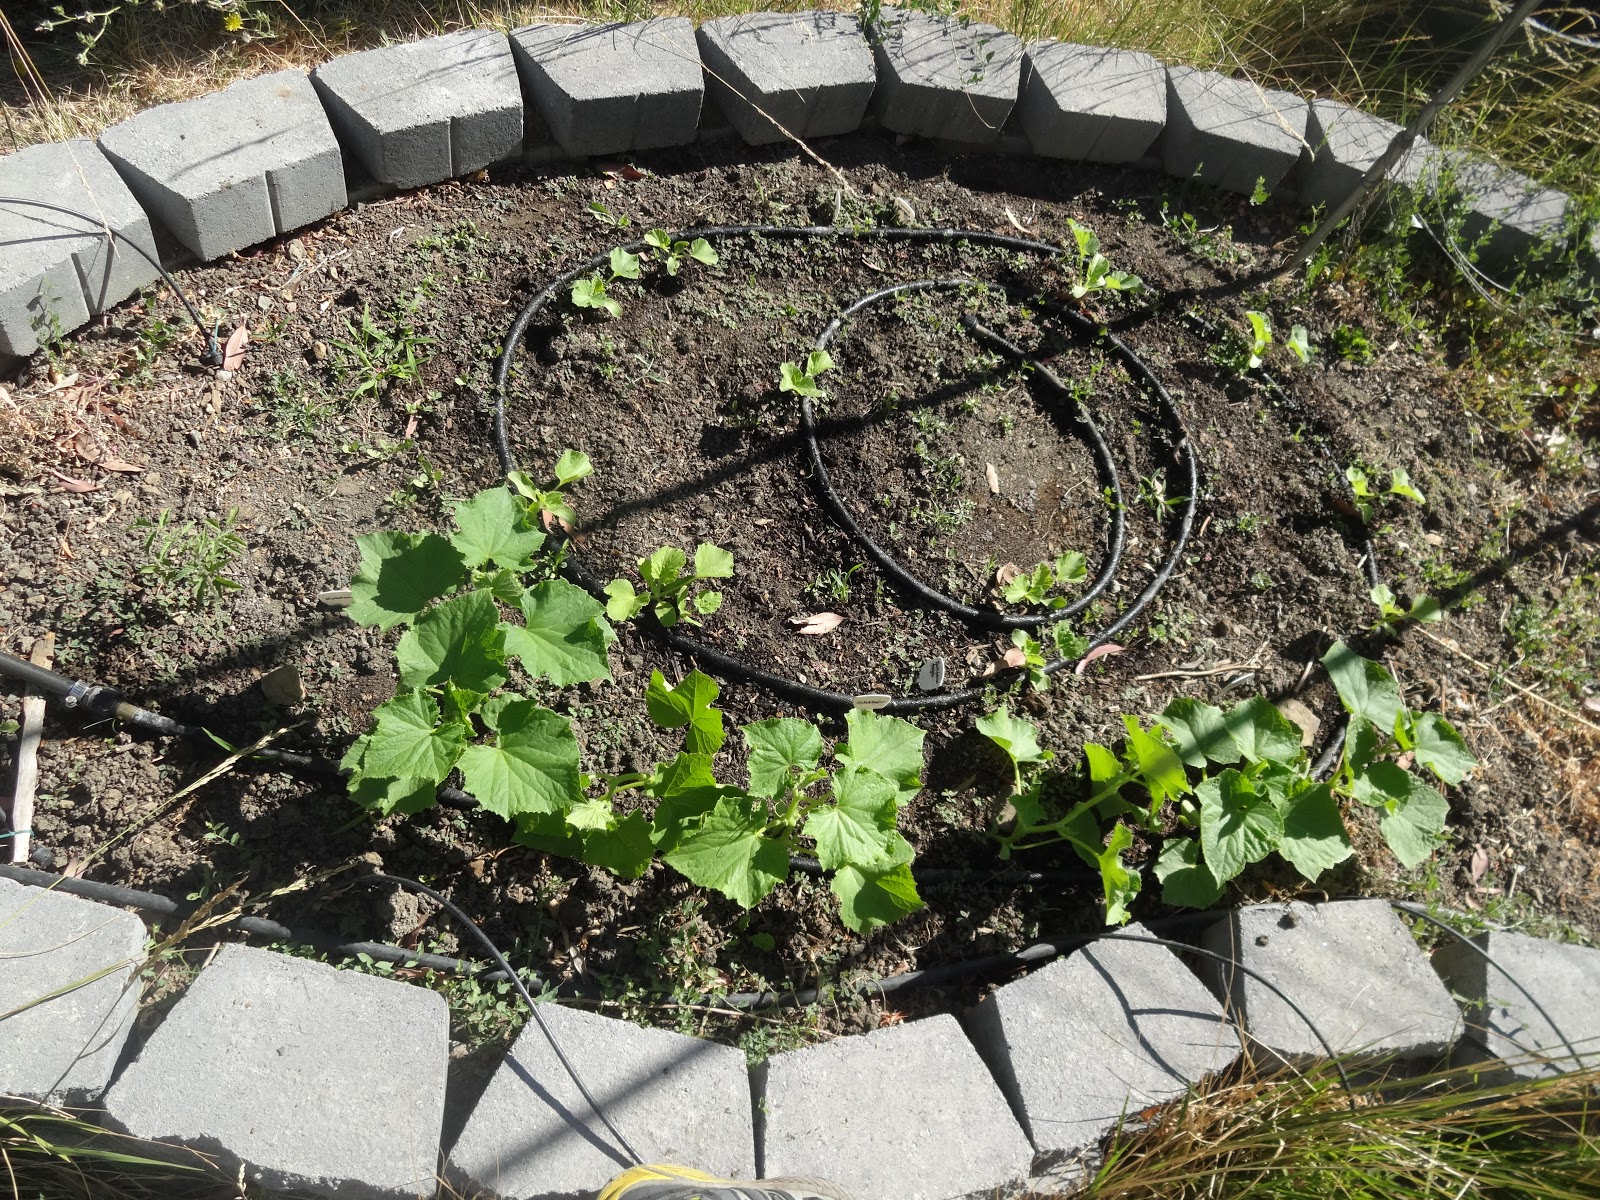
| July 18th, 2018 |
 |
| July 23rd |
 |
| July 24th |

As for the carosellos, I wanted to find out some more about all of the Spuredda Leccese varieties that I owned. Spuredda is another name for Carosello, so that is not a very good descriptor. Sometimes seed packets will say “Carosello Spuredda Leccese Verde”. This is not completely accurate either, because even though the cucumber may be green – as most cucumbers are – the variety that they are referring to is better referred to as “dark green” That is why the term “scuro” seems to be the best fitting for this variety. In any case – the coloring, shape, texture and the variety of seed that is in any “Carosello Spuredda Leccese” packet can vary so widely from one variety to another, that I decided to grow three different varieties – one from my friend Angelo, and two from Italian seed companies.
 |
| July 30th |


 |
| August 6th |
 |
| August 6th |


 |
| August 8th |


Work on the garden began in late June and ended near the end of September. Given that the soil was so rocky, I was not expecting too much, but most everything grew as well as could be expected. One of the more difficult problems I encountered was that I didn’t make the time to get a timer for the soaker hose, so instead I just kept the soaker hose on all the time at an incredibly small rate. This was a big mistake. Although carosello are able to do quite well in poor soils, they cannot handle sitting water for very long. If left to sit, clay soil can compact incredibly easily under its own weight leaving the roots of the plant starved for air. I almost lost one of my prize varieties last year due to exposure to stagnant water on the clay soil. As with many drought-tolerant plants, the roots of carosello are much more forgiving to underwatering than they are to overwatering.
 |
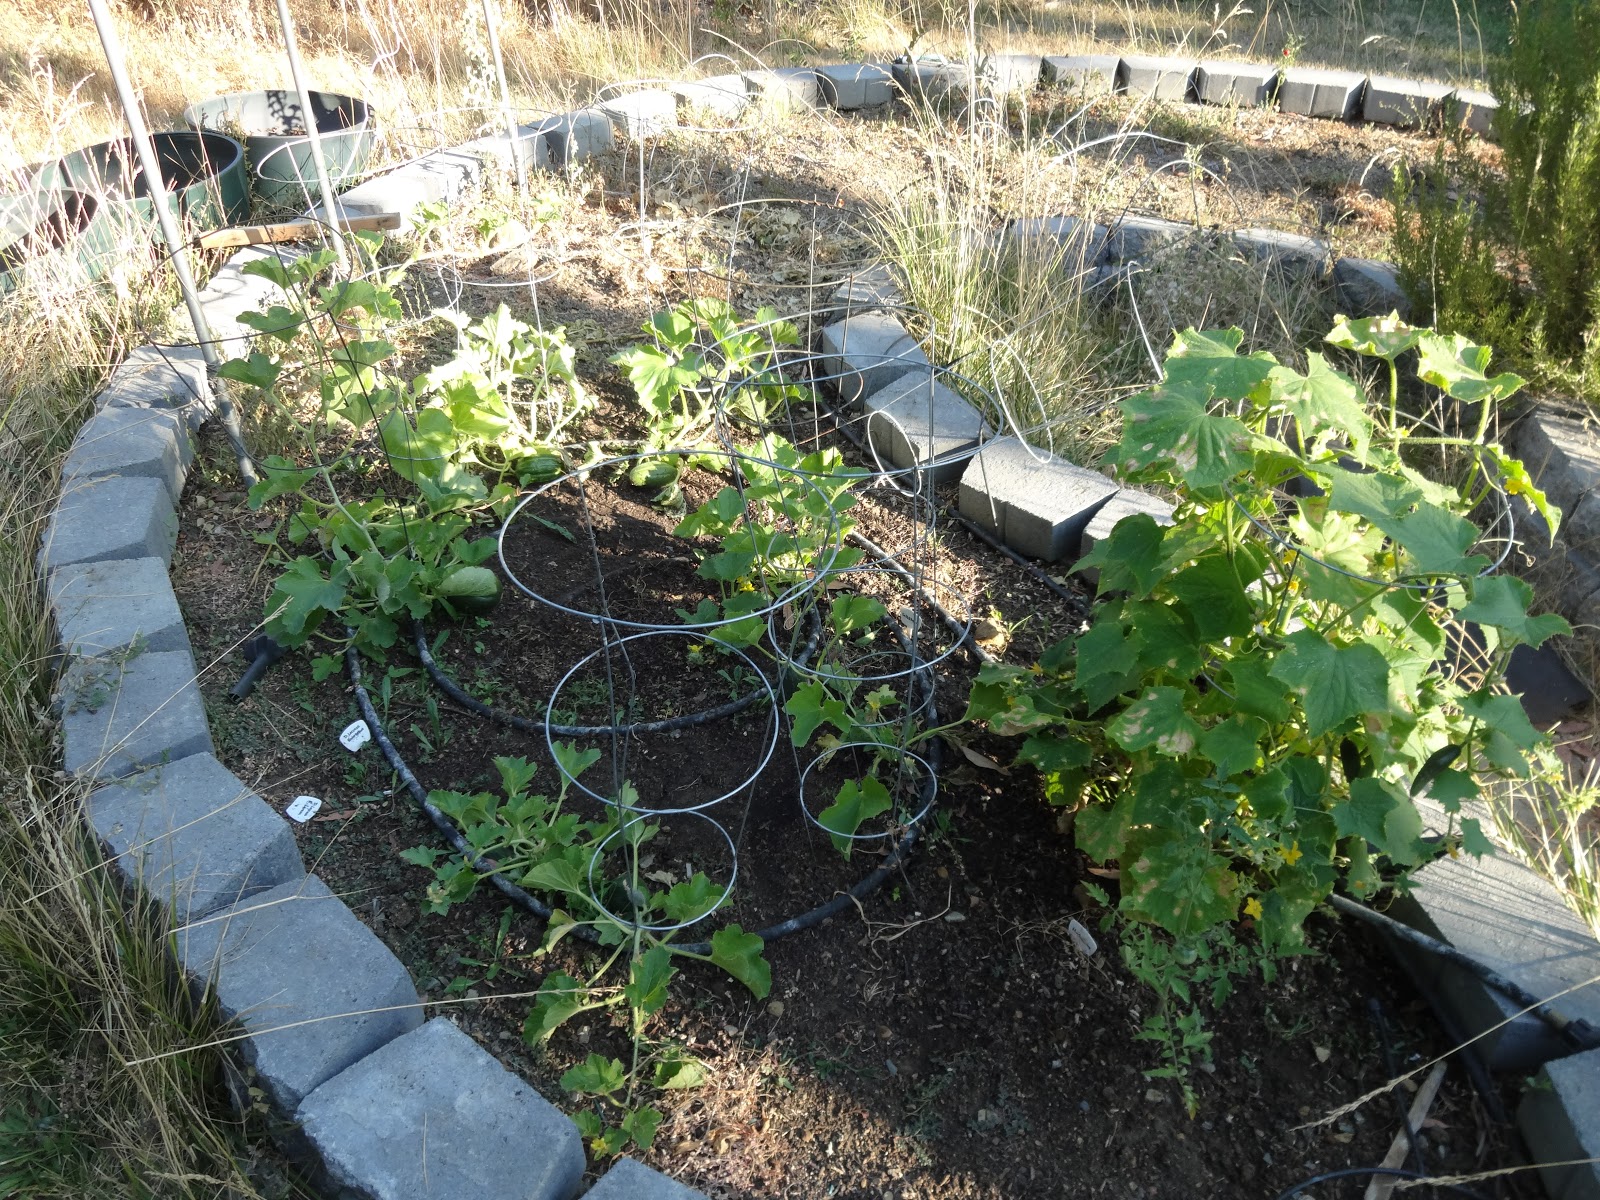
| August 13th |
 |
| September 8th |


 |
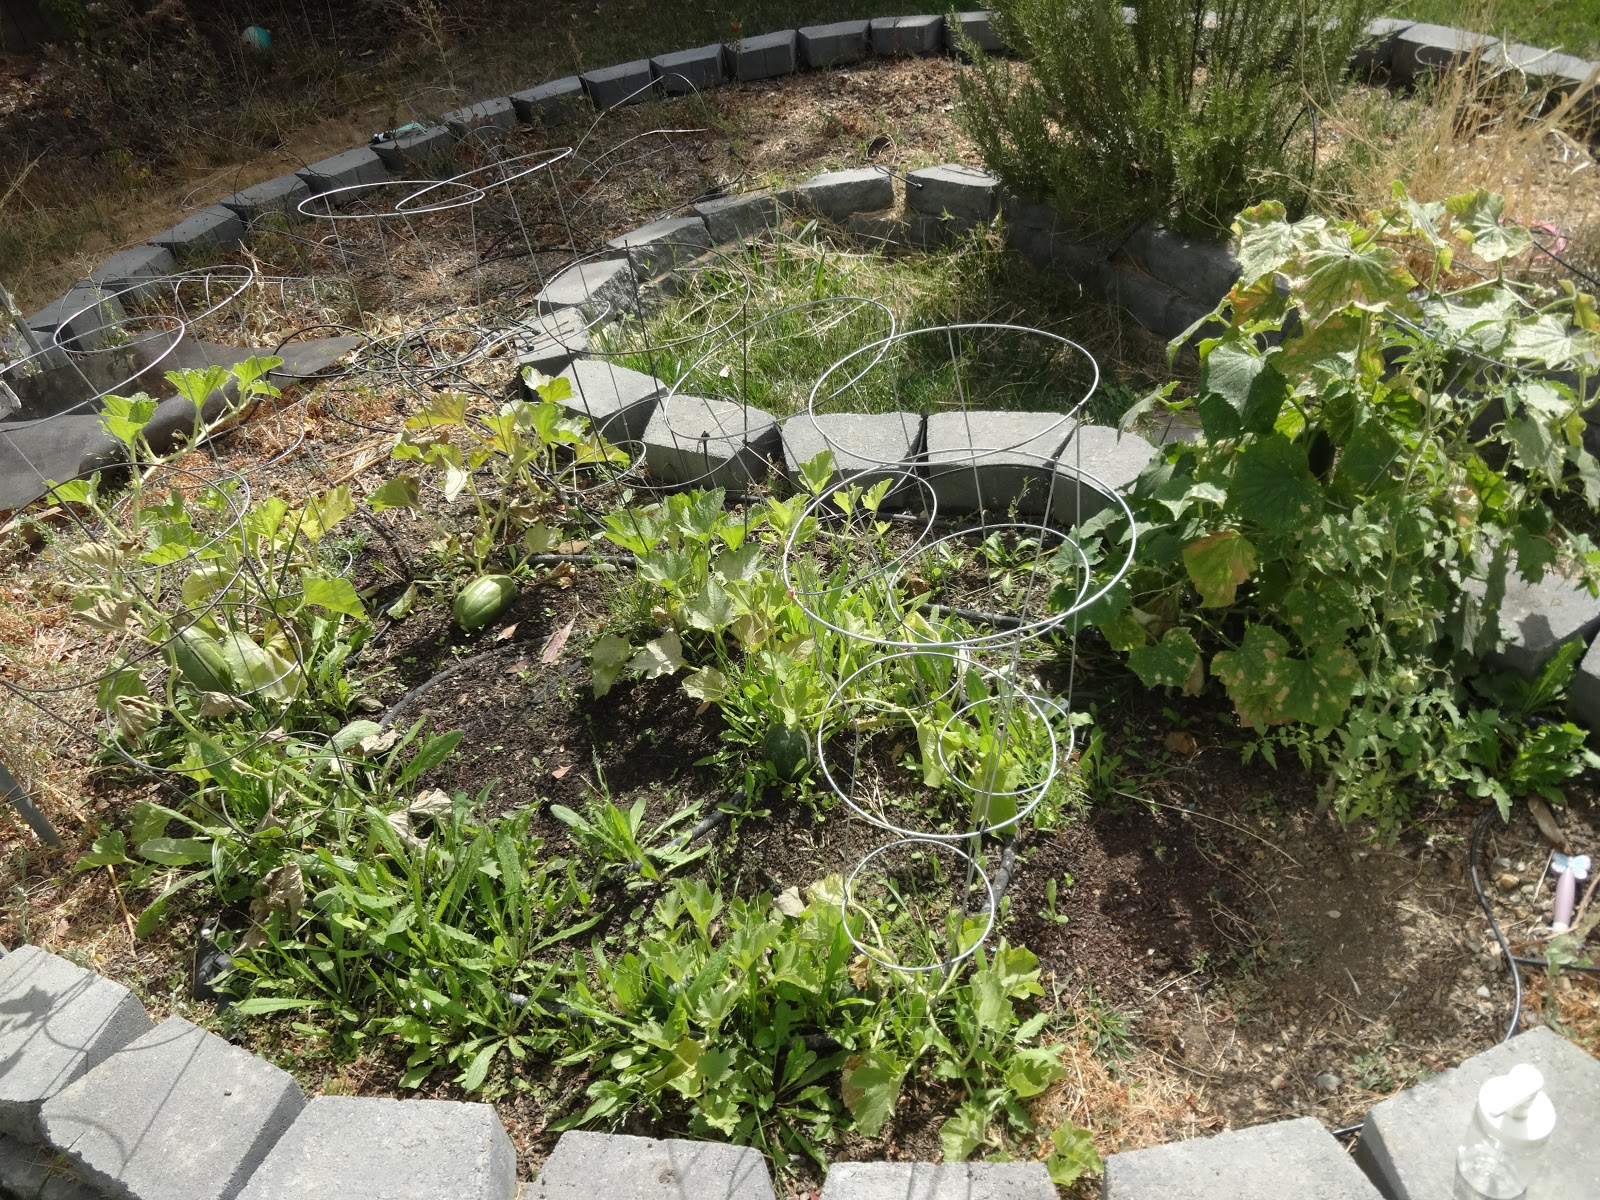
| September 29th |
 |
| My friend, who owns the property, looking at some cucumbers. |
 |
| With most of the plants done, mostly weeds remain. |
 |
| Weeds on September 29th |
 |
| Tilling weeds into the soil. |
Though there was a lot of sun in May and June, it quickly declined over the month of August due to shade from the stand of Junipers. The summer went by quickly and, by September the plants had declined substantially. Weeding was something I just never have time to do. I definitely pull weeds that are going to seed, but otherwise I try to time the removal of my weeds with the end of the growing season. At the very end of the season, when I was done harvesting all of the plants and fruit I turned in the thriving weeds to keep them from going to seed while utilizing their remains to enrich the soil.


