
Back when I lived in Tucson, I would be able to sow pre-sprouted cucumber seeds around the first of March. Or, at least, I could try starting them then. Starting something that requires warm soil, such as melons was always a challenge – but I was always able to do so with some water-filled jugs to help speed the growing process along. Very few pests are present in a desert backyard in March, unless they somehow lived off something nearby long enough to get them through the winter.
However, now that I live in Northern California – where the weather will often be cool and rainy until May – it is quite difficult to start anything outside early. Even in May when we get warmer days, the nights are often too cool for growing something that requires consistent heat. The cool temperatures coupled with wet soil can enable snails, slugs and other pests to outcompete with any kind of cucumber seedling. Though I have tried growing out seedlings in the past with mixed results, I believe that this year I have finally figured out how to successfully grow out my cucumber-melon transplants.
Before I get too far into this, perhaps I should answer the question, "What is a soil block?" A soil block is a mixture of organic or inorganic material that is compressed to make a pseudo-pot that can degrade directly into the garden. Though soil blocks require time to learn how to make, they offer quite a few advantages that I’ll explain later. First - here is how I am currently making my soil blocks:
1. I pick the cucumber-melons to grow, then put them into a Ziplock bag with a moist paper towel in a warm place to pre-sprout them. I diligently check the pre-sprouted seed during the first 24 hours. Healthy seed can sometimes grow slowly – but sometimes very viable seed can not only sprout, but produce long roots in less than 24 hours. Keep checking the seed for the first 3-5 days until all seed has sprouted.
2. As soon as the seed has sprouted, put the seed in the soil blocks. I start my transplants in a 2” Ladbrooke soil block. Currently, I am using a mix of peat moss, compost, finely sifted native dirt and a little topsoil in my mix. Sifted compost seems to be the best at keeping everything together. Although pearlite or vermiculite should be added, I have not made the time to locate a good supplier of these materials in my area. I’m sure you can find recipes for soil block mixes online – but it may be wise to consider how much native material can be utilized before going out to buy something unnecessarily.
When putting the seed in, it is important to ensure that the end of the seed coat does not go straight up. If the root grows the seed straight up, there may not be enough abrasion to enable the seed to shed its seed coat. The longer the seed keeps its seed coat on, the more energy that the plant is using up to push the seed coat off. If a seedling takes too long to shed its seed coat, it may run out of energy to do shed its coat before photosynthesis can take place.
If your seedlings have small sprouts coming out, it may be wise to transplant them either sideways (preferable) or upside-down. In one experiment I did with my soil blocks this spring, I dropped all the pre-sprouted seed in the soil blocks with the roots going straight up. Though I lost a couple seedlings through them working too hard to figure out which way was up, it generally worked very well at ensuring the seed coat was removed by the time the seedling emerged from the top surface of the soil block.
3. Growing out the transplants until they are big enough to put into a pest-infested garden is important. Even though I can put barriers around my cucumber plants, it can often be difficult to ensure that barriers are secure enough to keep critters from nibbling on your plants. The thicker the stem is, the better chance the plant will have. Additionally, as I start my transplants in the greenhouse, taking a little longer to transplant in the spring gives my warm-loving plants a longer time in ideal conditions before exposing them to cold temperatures. I have found that, by starting my transplants out with plenty of light reduces the time required to harden them off.
4. Prior to transplanting, I make sure that the garden soil has plenty of finely sifted compost or other amendments added in. This helps to ensure that the transplants will grow quickly and out-compete other plants or critters.
So, here are some things I have discovered about using soil blocks:
-Making soil blocks takes time: You definitely need a couple hours to learn how to make soil blocks. There is a learning curve. However, once you get a hang of it, the process can be quite simple.
-The main advantage to using soil blocks with cucumbers or melons is the ability to keep transplants from having their roots disturbed. Except for times when I really mess up my soil block mix (it can happen) soil blocks are much better at keeping the roots of cucumbers and melons in one solid mass until they are placed in the soil. Once they are placed in the soil, they automatically begin to grow out. They are no longer bound in the block and there is no “transplant shock” which means that the plant can go from pre-sprouted seedling (saving a week or two over direct seeding) to a soil block (a safe environment for the seedling to grow) to the garden without any times where the plant it having to adjust to a completely new environment. As long as the soil block has mostly sterile soil and the garden is fertile, then the process from seed to plant to fruit is quite smooth.
-Another advantage to soil blocks is that they enable me to grow more. By being able to keep small plants growing in blocks while the plants in the garden are going through the gantlet of pests and weather conditions there is always a backup if a cutworm, slug or woodlice decide to make a meal out of a seedling. Additionally, crop rotation can occur much faster. When one crop is done producing, the second crop (which has grown for 3-4 weeks) can replace them. This enables the gardener to grow several crops in an area where only one was possible beforehand.
-I’m never done learning: I recently began transplanting my 2” soil blocks into 4” soil blocks. I finally decided to invest in a 4” blocker. This soil blocker has a built-in 2” cube to pot-up the 2” soil blocks into a 4” block. The 4” blocks require a lot more materials and can take a while to learn how to make. The blocker itself looks like a oversized cow bell and, if you twist the top handle from side to side, sounds like one too.
What’s next? Although I am currently using 1020 trays (which I will continue to use) I am planning on obtaining some 1020 mesh bottom trays to increase the air-pruning underneath the soil blocks. I’m also planning on getting some carts to transport my 1020 trays from the greenhouse to wherever I want to harden-off or transplant my soil block seedlings.
Last but not least: Yet another amateur Youtube video - so you can see what I am talking about and so I can show off how my cucumbers are doing now.
 |
| Sprouting cucumber-melon seeds |
However, now that I live in Northern California – where the weather will often be cool and rainy until May – it is quite difficult to start anything outside early. Even in May when we get warmer days, the nights are often too cool for growing something that requires consistent heat. The cool temperatures coupled with wet soil can enable snails, slugs and other pests to outcompete with any kind of cucumber seedling. Though I have tried growing out seedlings in the past with mixed results, I believe that this year I have finally figured out how to successfully grow out my cucumber-melon transplants.
| A soil block with a sprouting cucumber |
Before I get too far into this, perhaps I should answer the question, "What is a soil block?" A soil block is a mixture of organic or inorganic material that is compressed to make a pseudo-pot that can degrade directly into the garden. Though soil blocks require time to learn how to make, they offer quite a few advantages that I’ll explain later. First - here is how I am currently making my soil blocks:
1. I pick the cucumber-melons to grow, then put them into a Ziplock bag with a moist paper towel in a warm place to pre-sprout them. I diligently check the pre-sprouted seed during the first 24 hours. Healthy seed can sometimes grow slowly – but sometimes very viable seed can not only sprout, but produce long roots in less than 24 hours. Keep checking the seed for the first 3-5 days until all seed has sprouted.
 |
| Presprouting cucumber-melon seeds |
2. As soon as the seed has sprouted, put the seed in the soil blocks. I start my transplants in a 2” Ladbrooke soil block. Currently, I am using a mix of peat moss, compost, finely sifted native dirt and a little topsoil in my mix. Sifted compost seems to be the best at keeping everything together. Although pearlite or vermiculite should be added, I have not made the time to locate a good supplier of these materials in my area. I’m sure you can find recipes for soil block mixes online – but it may be wise to consider how much native material can be utilized before going out to buy something unnecessarily.
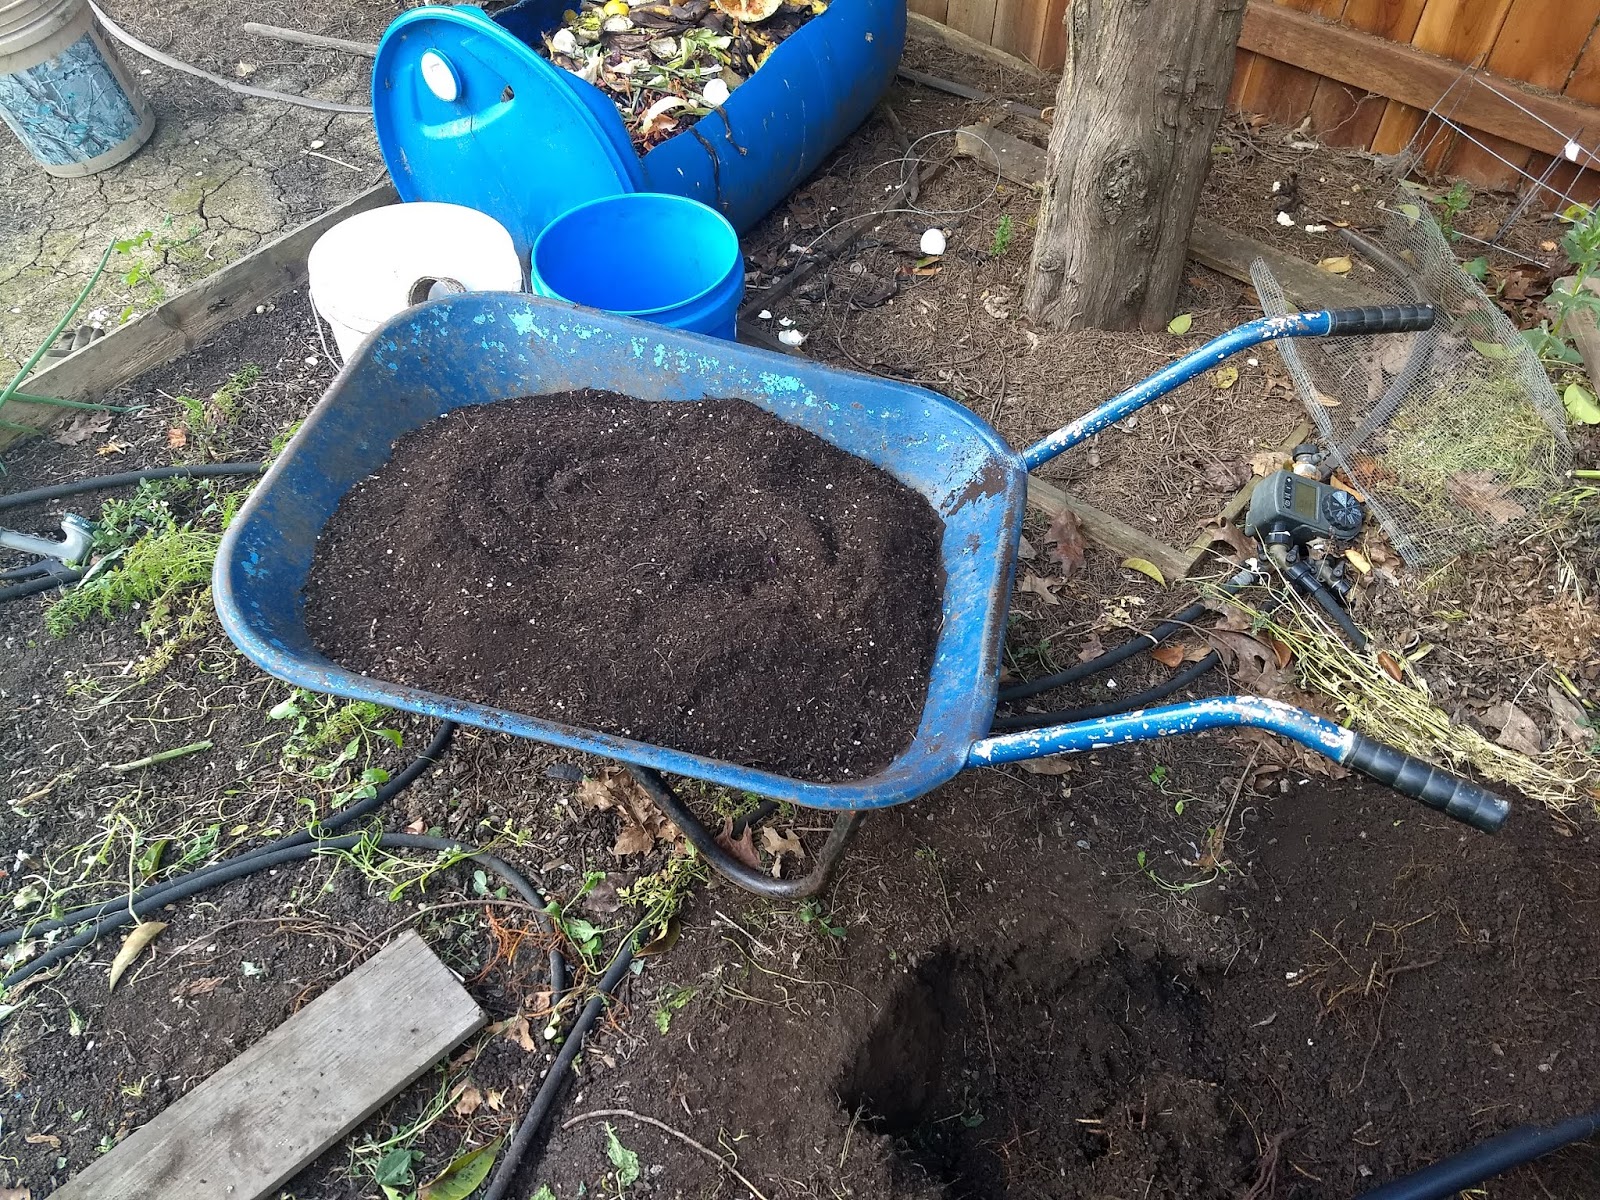 |
| sifted fine garden soil |
 |
| Closeup of the soil |
 |
| Soil block mixture ready to go |
 |
| Compressed coco coir block (a peat moss alternative) |
 |
| After adding at least 5 gallons of water to the compressed block |
 |
| Some materials I use in making soil blocks |
 |
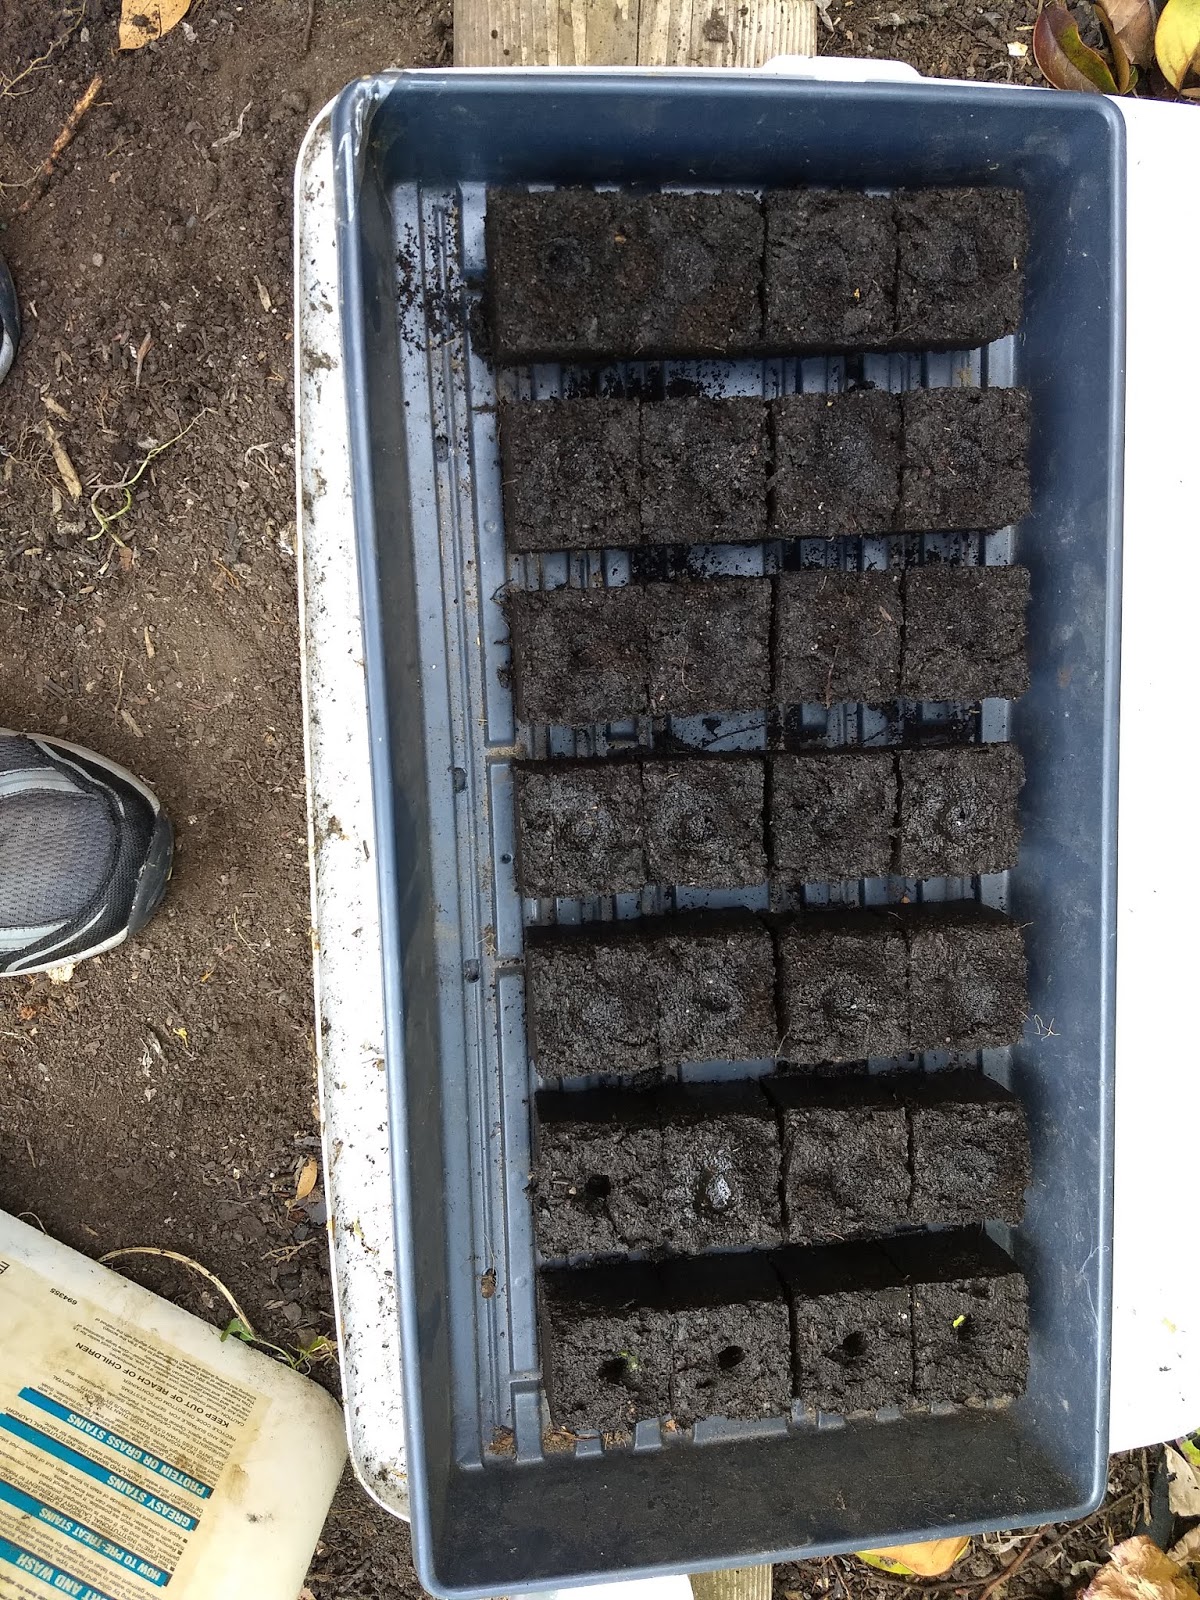
| Pressed out blocks from the 2 inch Ladbrooke soil blocker |
When putting the seed in, it is important to ensure that the end of the seed coat does not go straight up. If the root grows the seed straight up, there may not be enough abrasion to enable the seed to shed its seed coat. The longer the seed keeps its seed coat on, the more energy that the plant is using up to push the seed coat off. If a seedling takes too long to shed its seed coat, it may run out of energy to do shed its coat before photosynthesis can take place.
 |
| Pre-sprouted seed put in upside down (with the roots up) |
If your seedlings have small sprouts coming out, it may be wise to transplant them either sideways (preferable) or upside-down. In one experiment I did with my soil blocks this spring, I dropped all the pre-sprouted seed in the soil blocks with the roots going straight up. Though I lost a couple seedlings through them working too hard to figure out which way was up, it generally worked very well at ensuring the seed coat was removed by the time the seedling emerged from the top surface of the soil block.
 |
| Now all are covered |
 |
| The resulting seedlings |
3. Growing out the transplants until they are big enough to put into a pest-infested garden is important. Even though I can put barriers around my cucumber plants, it can often be difficult to ensure that barriers are secure enough to keep critters from nibbling on your plants. The thicker the stem is, the better chance the plant will have. Additionally, as I start my transplants in the greenhouse, taking a little longer to transplant in the spring gives my warm-loving plants a longer time in ideal conditions before exposing them to cold temperatures. I have found that, by starting my transplants out with plenty of light reduces the time required to harden them off.
 |
| Seedlings about ready to be transplanted |
4. Prior to transplanting, I make sure that the garden soil has plenty of finely sifted compost or other amendments added in. This helps to ensure that the transplants will grow quickly and out-compete other plants or critters.
 |
| Garden with Fava bean plants cut to the ground (roots left in soil) |
 |
| Adding compost and amendments |
| Adding mulch and seedlings |
 |
| Adding transplants with a barrier to protect against critters |
So, here are some things I have discovered about using soil blocks:
-Making soil blocks takes time: You definitely need a couple hours to learn how to make soil blocks. There is a learning curve. However, once you get a hang of it, the process can be quite simple.
 |
| What happens when I add a tiny bit of Miracle Grow to my seedlings |
-The main advantage to using soil blocks with cucumbers or melons is the ability to keep transplants from having their roots disturbed. Except for times when I really mess up my soil block mix (it can happen) soil blocks are much better at keeping the roots of cucumbers and melons in one solid mass until they are placed in the soil. Once they are placed in the soil, they automatically begin to grow out. They are no longer bound in the block and there is no “transplant shock” which means that the plant can go from pre-sprouted seedling (saving a week or two over direct seeding) to a soil block (a safe environment for the seedling to grow) to the garden without any times where the plant it having to adjust to a completely new environment. As long as the soil block has mostly sterile soil and the garden is fertile, then the process from seed to plant to fruit is quite smooth.
| Hardening off the transplants in the garden |
| One flat planted out to another garden, one more to go. |
-Another advantage to soil blocks is that they enable me to grow more. By being able to keep small plants growing in blocks while the plants in the garden are going through the gantlet of pests and weather conditions there is always a backup if a cutworm, slug or woodlice decide to make a meal out of a seedling. Additionally, crop rotation can occur much faster. When one crop is done producing, the second crop (which has grown for 3-4 weeks) can replace them. This enables the gardener to grow several crops in an area where only one was possible beforehand.
 |
| 2 inch soil blocker on the right and 4 inch soil blocker on the left |
-I’m never done learning: I recently began transplanting my 2” soil blocks into 4” soil blocks. I finally decided to invest in a 4” blocker. This soil blocker has a built-in 2” cube to pot-up the 2” soil blocks into a 4” block. The 4” blocks require a lot more materials and can take a while to learn how to make. The blocker itself looks like a oversized cow bell and, if you twist the top handle from side to side, sounds like one too.
| 2 inch soil blocks now in the compressed 4 inch soil blocks |
 |
| A 1020 tray with soil blocks |
What’s next? Although I am currently using 1020 trays (which I will continue to use) I am planning on obtaining some 1020 mesh bottom trays to increase the air-pruning underneath the soil blocks. I’m also planning on getting some carts to transport my 1020 trays from the greenhouse to wherever I want to harden-off or transplant my soil block seedlings.
Last but not least: Yet another amateur Youtube video - so you can see what I am talking about and so I can show off how my cucumbers are doing now.
Science applied to gardening! Great!
ReplyDelete-Giuseppe-
Thanks Giuseppe. I have only had minimal success with carosello transplants until using soil blocks. How do you do it with pots?
Delete